BEST VIEWED with your browser at the 100% setting :)
Website Designed for Silkspike Dolls using HOMESTEAD software.
Please do not use my photos or any portion of my website without asking permission.
Thanks! Micki :)


TUTORIAL and PATTERNS
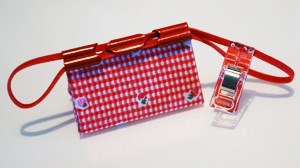
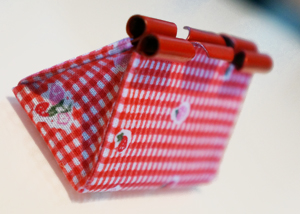
Make a bag from a binder clip!
This isn't my idea, of course, but I struggled to find an ideal tutorial to follow, so I decided to make my own.
I have included patterns for the two best sizes. One is best for 16" Dolls and the smaller one is for Barbie or Fashion Royalty size. These bags DO NOT OPEN.
They are suited for non-doll-collectors too, since most everyone loves miniature versions of things they love.

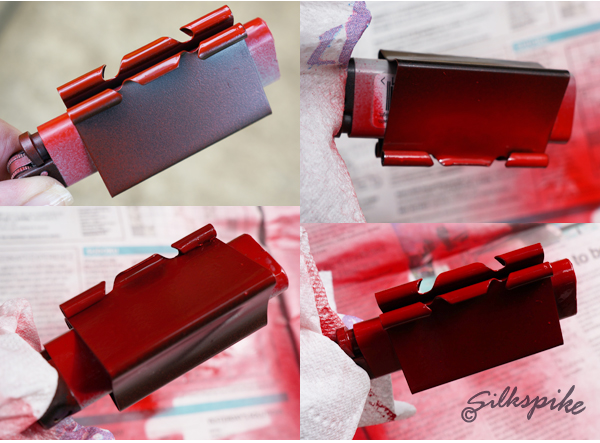
Step 1: Shake your paint can thoroughly and apply a very light first coat. I set it on newspaper, then gave one burst each coming from the east, west, north and south, if that makes sense. Now let it dry. This is a good time to cut your pattern.
The clip handle is easy to remove, and there will be times that working with the clip attached is best, so don't discard it. I found that a lighter works best to spread the 51mm clip for spray painting. Go phone a friendly smoker like I did. ;o) I haven't tried painting a 41mm clip, so a lighter may not be ideal. Spread open the clip and insert the lighter, leaving enough sticking out on one end to hold with your fingers. Remove the clip handles by flipping each one downwards. Pinch the long silver bit together and slide the handles out. Make sure you are comfortable with being able to take the silver clip handles off and put them back on. You want to do this in later steps without damaging your work.

* There are times when you might need to re-insert the silver handles into your clip. If you decide you want to put the handles of your bag into the bag instead of threading them through the top, DO NOT glue the triangular shapes at the sides yet. You will need to re-insert your clips so you can spread open the bag. If you are going to use chain or anything bulky, it is best to sew or glue a little tab to the ends. These act as a place for the clip to grip your handle and close back as tightly as possible. You can't just simply pinch a chain between the clips because the bag will gape open. Once you have your handles in place, you can remove the silver clip handles again. Once you have glued the triangular sides, you cannot open the bag again or it will ruin your work.
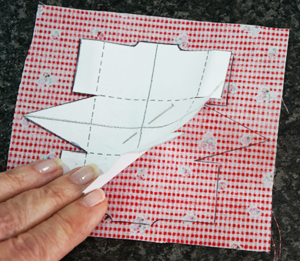
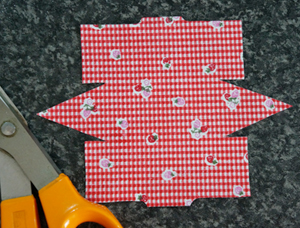
Trace the pattern on the wrong side of your fabric.
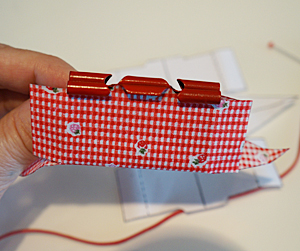
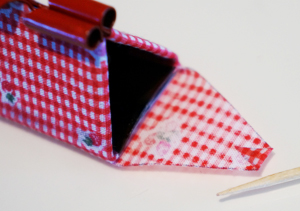
Glue your card or thick paper to the bottom of the clip, then wrap the fabric around to the other side and glue the top edge of that side.
Glue the top edge of one side only. You don't really need to glue the entire surface.
Try to be as precise as possible with your cuts. Also cut a thick paper rectangle just a tiny bit smaller than the bottom of your clip. (see step 4)
Page created May 18, 2015
Repeat on the other side. Your bag is now ready for a handle. I have given instructions for a very easy handle, but the sky is the limit.
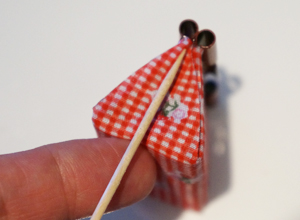
Use a toothpick and first carefully tuck the tip upwards into the top of the clip, then GENTLY sculpt the edges together with your toothpick. Don't push or you may shove it too far and have to push it back out again and start over.
Put a line of glue around the wrong side of the fabric and another around the inside edge. Let the glue get tacky before proceeding.
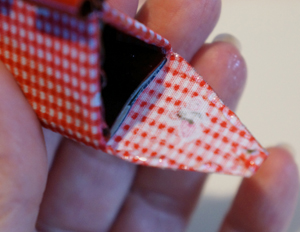
Tuck and glue the 4 side flaps inside of the clip. It might be easier to spread open the bag with the silver handles for this step. Next, glue down the tip. Do NOT cut off the tip. You need the double thickness of the turned down point.
SEE
FOOTNOTE
*
You can even add HotFix dots to the bottom of your bag if you'd like. Now the decorating fun begins! See my additional notes.
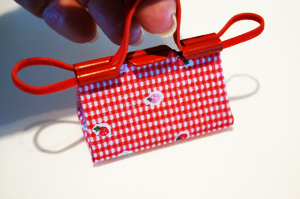
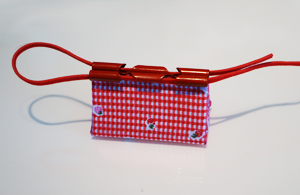
Now you can see how to pull the handle. Put dots of glue at each edge so the strap doesn't move. You want the spliced edge to hide behind the metal.
Glue, sew or tie your ends together and let dry. If you use round elastic, you can just tie the ends together in a square knot. Put a dot of glue on the knot.
Weave your handle through the clip as shown. I used a red leather thong for this tutorial, but round elastic is also good - or you can use trim.
Measure the black line after you print your pattern . It needs to measure EXACTLY 3" (7.6mm). If not, check your settings, or switch browsers and try again.
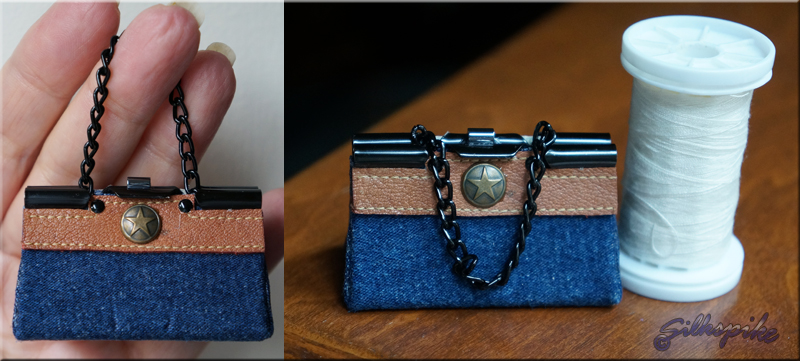
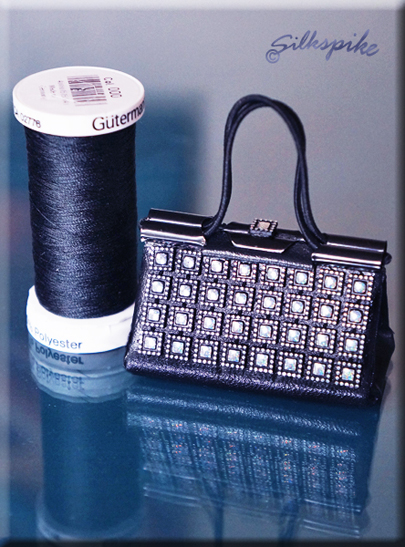
Practise wrapping your clip with the paper pattern first so you are clear on how to proceed. You can use fabric or real leather as long as it is not very thick. I cut apart an old, cheap planning calendar to make the black sparkle bag. 'Pleather' is fantastic to work with on a project like this, and you can incorporate some of the existing stitching into your bag's design. You will notice an area on the pattern that is shaded with diagonal lines. This section is for cutting out overlays (like you see on the denim bag). Be creative with beads and trim.
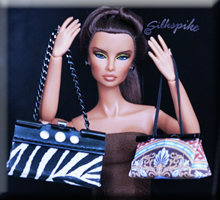
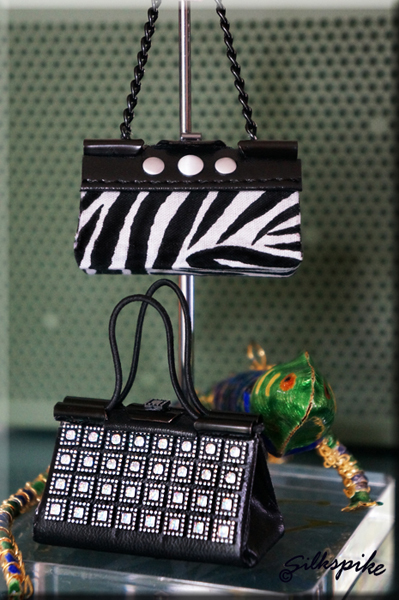
Bags shown with a 12-1/2" Fashion Royalty doll - the 41mm clip is perfect for Barbie.
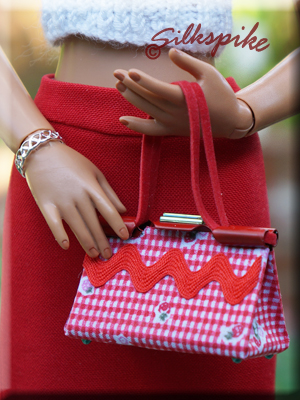
51mm Bag shown with a 16" fashion doll
WHAT YOU WILL NEED:
Fabric or light-weight leather or pleather
Something to use for the handle
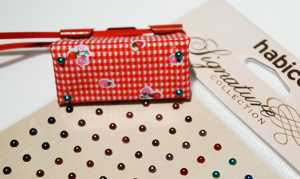
HotFix Dots, beads, trim or other embellishments
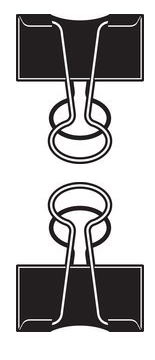
Binder Clips - 51mm wide clip for large bag (almost 2")
- 41mm wide clip for small bag (a little over 1-1/2")
Tacky Glue - I used Aleene's Clear Gel Tacky Glue
Toothpicks and Paper Towels
Optional - Spray Paint
- Newspaper
- Disposable Lighter (or something like that)
I suggest you use lightweight cloth (like a fat quarter scrap) the first time you make one of these bags because it is easier to manipulate than leather, pleather or denim. You will get a good feel for how to make yours and can move on to thicker material.
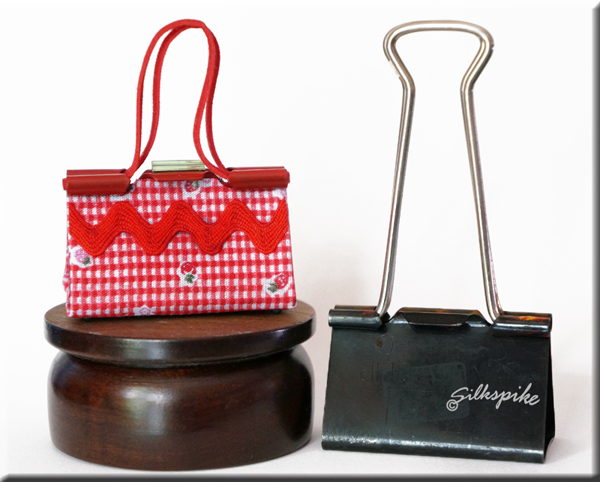
You can use most anything to look like the top clasp. I used two bugle beads for the red bag and one hematite tube bead for the denim bag. You can incorporate jump rings or buckles into your handles or just keep them simple, using round elastic or a thin strip of leather or cord used for jewellery-making.
I have only included patterns for 51mm and 41mm clips since they seem to be the best scale for fashion dolls.
I am assuming that binder clips are standard size all over the world.
These are also called Bulldog Clips
PATTERN
NOTE: According to which browser you are using, select these options:
CUSTOM SCALE 100%
and/or
un-check the block that says
FIT TO PAGE
CLICK THE ICON

Step 2: First wrap your fingers with paper towels and turn over the clip and give one light burst of paint in each direction on the underside. Lay the clip back on the paper and give it another light burst to the top. Stop now and let it dry. Do not be tempted to keep spraying. You can do this project in just a few hours, but only if you let each coat dry before you begin to apply your fabric or leather. Apply super-light coats.
It is easy to turn even your most grungy clip into a cute bag. All you have to do is paint it first.
My pattern was tested with the top three browsers, and I recommend IE or Google Chrome. Firefox got mixed results.


Shown with 16" Fashion Doll
Lizette by Wilde Imagination